Summer Print and Cut Stickers Using Your Cricut Maker · Craftwhack
Many of you lot have already jumped into the globe of crafting with Cricut, only I am a full Cricut beginner. At first I wasn't sure which car to buy, or what I even wanted to brand, simply I knew I wanted to buy a Cricut.
Given the number of projects I similar to make, and the fact that I honey to experiment with unlike materials, I settled on the Cricut Maker.
The Cricut Maker is Amazing!
Non only can you cut all the normal paper and vinyl projects you lot would expect from a craft cutting machine, you can also cut:
- fabric
- leather
- chipboard
- foil
- felt
- wood
- aluminum
- cardboard
- plus so much more
If you want to be instantly inspired by the materials and types of projects you tin make with the Cricut Maker, go look here.
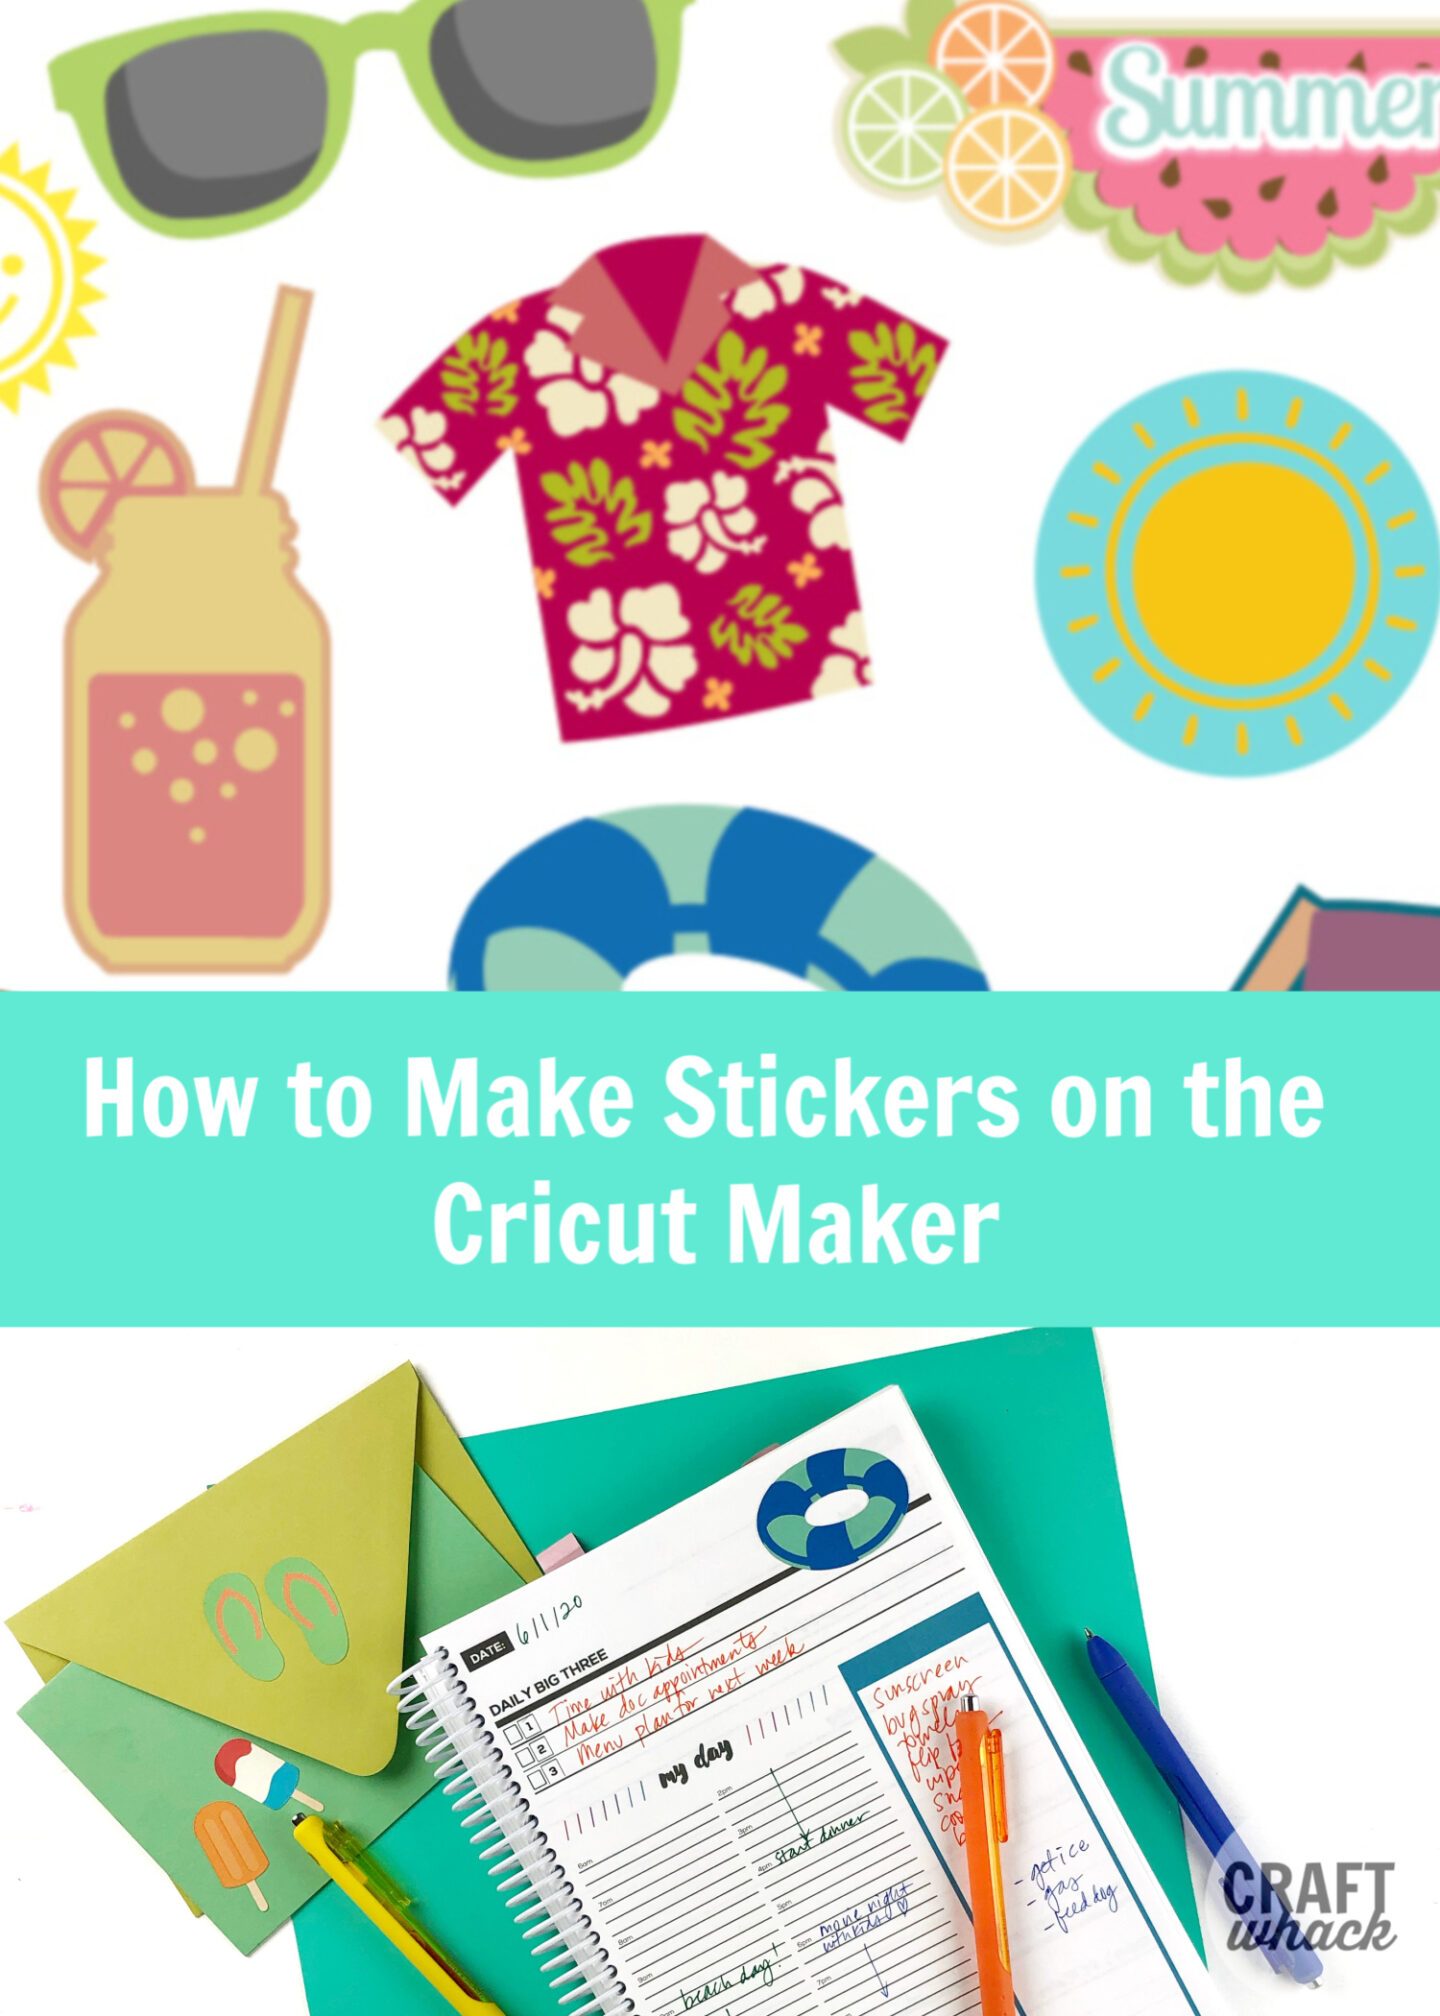
How to Brand Stickers on the Cricut Maker
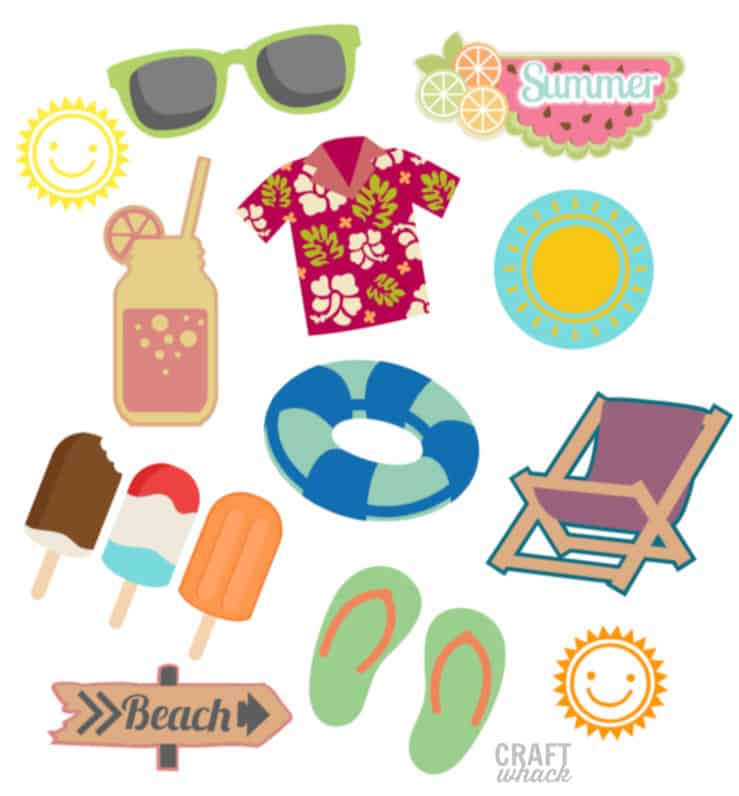
For my outset Cricut project, I wanted a very piece of cake beginner project, and decided to make stickers. I thought I could just choose some images and print them out on characterization paper…
It turns out there are a few tips yous need to know to make this truly an easy Cricut projection. Follow along and yous can larn to brand your own stickers with any images you want, or feel free to access my page of summer stickers.
I would take killed to exist able to make my own stickers as a kid. Obsessed is an understatement, and my best friend and I would spend hours collecting, swapping, and filling books with stickers.
Materials for Cricut Maker Stickers
- Cricut Maker
- Calorie-free grip sticky mat (12″x12″)
- Full folio printable label paper
- Printer
How to Print and Cut Stickers Using the Cricut Maker
You tin can search for images in Cricut Design Infinite or use my summer stickers pack found right here. Alternatively yous can upload your own images, but I'grand not roofing that in this postal service!)
If yous exercise desire to look for your ain images, here'south how you exercise information technology:
- Click 'new' at the top left of Design Infinite. Your blank mat will open.
- Click on 'images' and do a search or scan to find images you similar.
- You lot can click on whatsoever images you desire to add to your mat, and and so click 'insert images'.
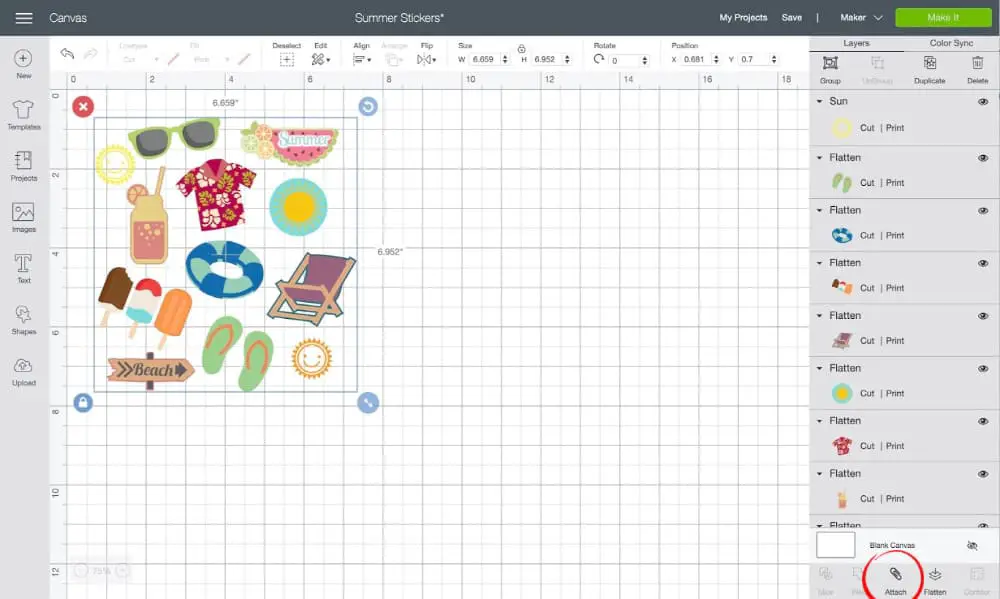
- Suit and resize the images on your mat to fit them all in. Hither's something I figured out past trial and error: Y'all need to keep your images within the 6.75″ x ix.5″ area or it won't piece of work!
In one case yous have your sticker images bundled, highlight all of them and click on the 'attach' button at the lesser right. This will keep all of your images arranged this way, without Cricut moving them around earlier printing/cutting.
Press the Stickers
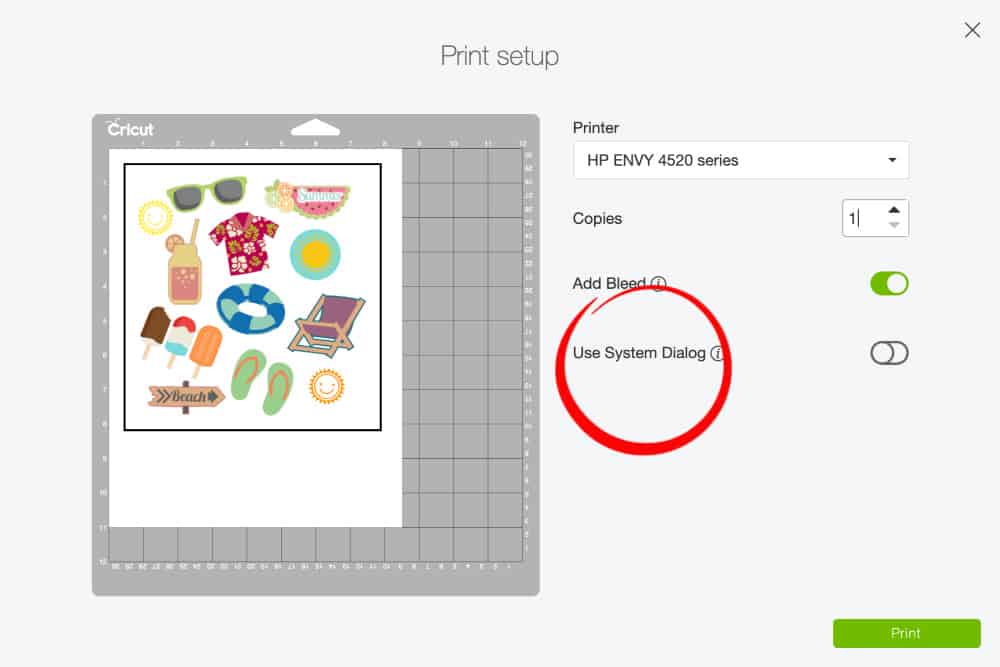
Next you will click "Brand information technology" on the meridian correct hand corner and y'all volition exist prompted to print your prototype from your printer. Load your sticker paper in the print tray and print it.
Our paper loads face downwards, merely yours may exist different. Double bank check with how you load your paper.
Print on the best quality setting on your printer.
Tip #2: In Cricut Design Space, Use the Organisation Dialog to fine melody your settings. (It will probably open upward behind the Cricut window, and so you'll have to look for your print preview box behind information technology.)
Cutting the Stickers
After printing, information technology'southward fourth dimension to cut!
Identify your printed sticker paper on your mat at the meridian left corner, just like the image higher up.
Tip #3: I needed to cut with the setting Cardstock – intricate cuts considering of the tiny suns. If you take any little complicated shapes like that, the intricate cuts setting will keep them from being torn up past the blade. If you just take elementary shapes to cutting, I have seen other people say to use the "viscid note" setting for cutting.
Follow the prompts in Pattern Space to printing the insert push, and and so the cut push.
Voila! Your stickers should be cutting and set up to utilise.
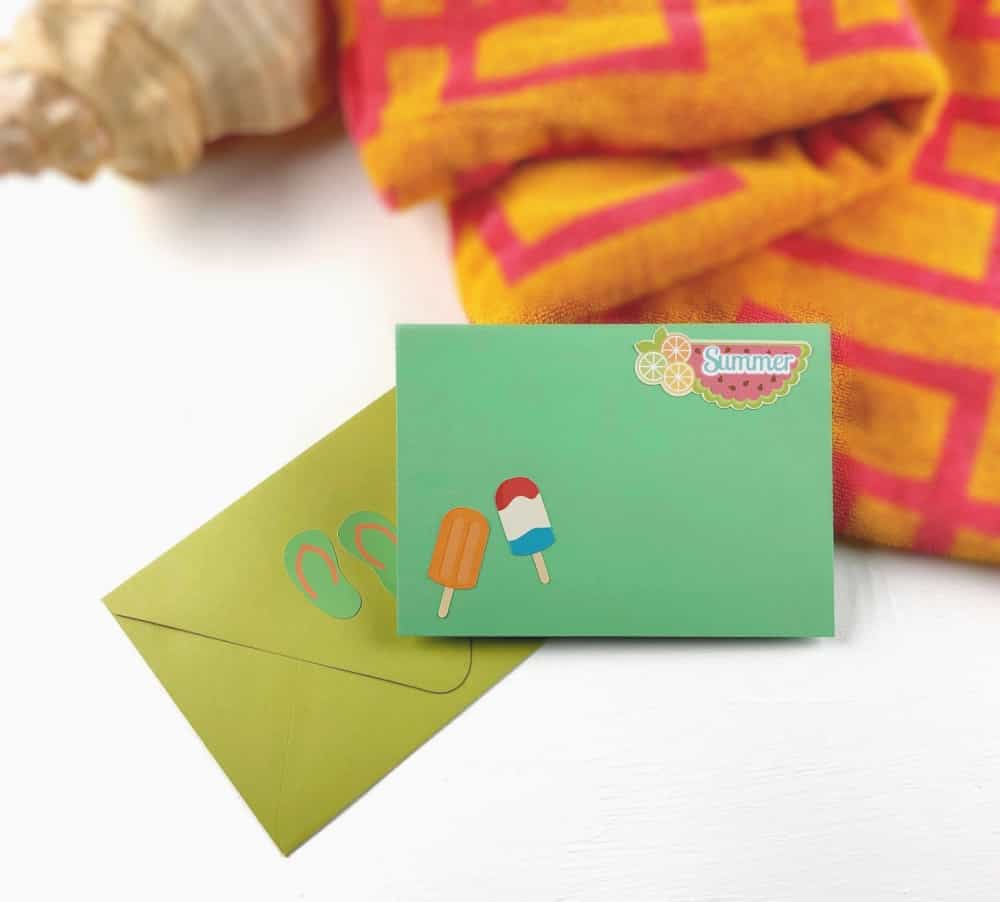
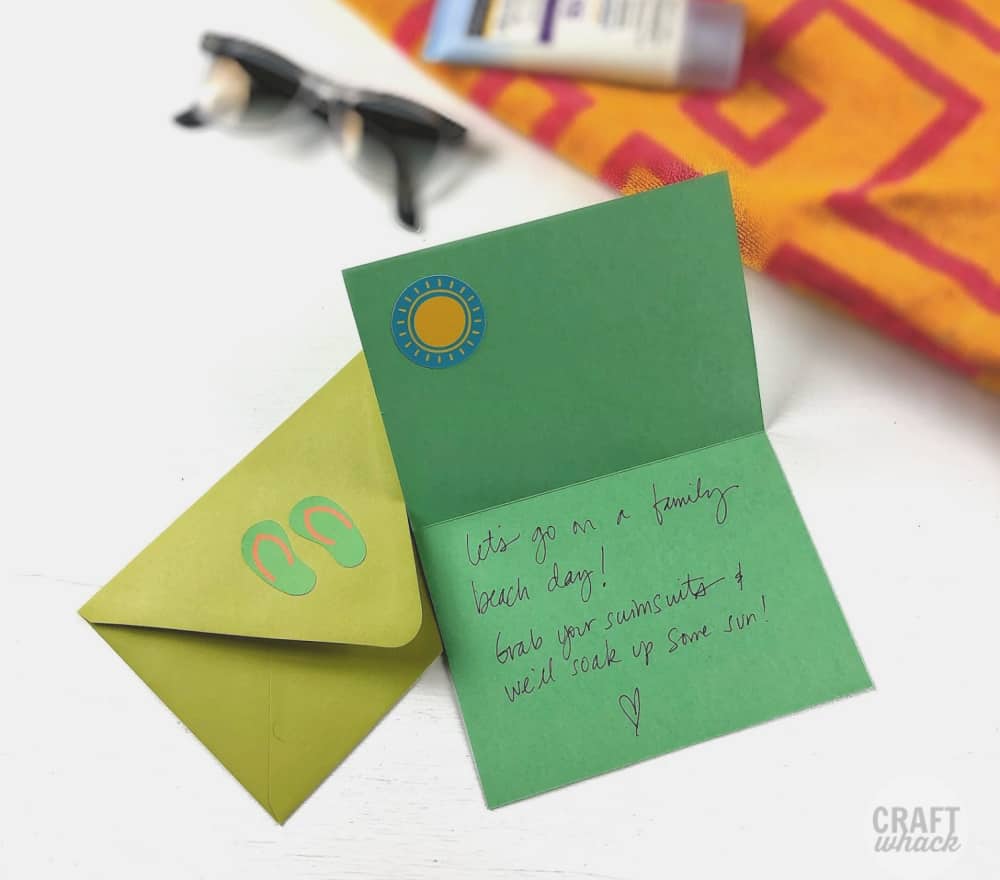
There is and then much to love almost stickers on the Cricut Maker. You can make them using any prototype you desire, resize them to fit your needs, and make personalized sticker gifts for your friends!
Want to remember this for later on? Pivot it!
Source: https://craftwhack.com/print-and-cut-stickers-cricut-maker/
0 Response to "Summer Print and Cut Stickers Using Your Cricut Maker · Craftwhack"
Post a Comment